
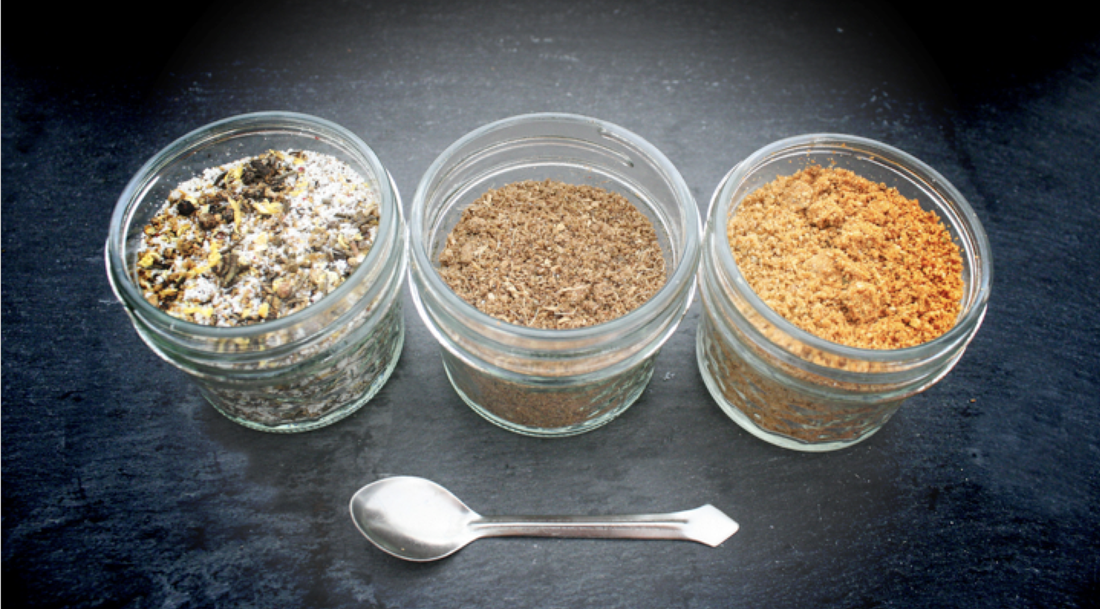
 Part of a whole foods pantry is kitchen staples, spices, and seasonings. Many pre-made mixes these days contain gluten or starches as fillers, not to mention spices that were ground up who knows how long ago and have lost their oomph. By mixing and grinding your own, you can create flavors and aromas for your foods that take your dishes to a whole new level. Also, buying bulk of individual spices to create your own blends can give significant savings over time, and come in much more affordable than the tiny individual jars at the store. Here are a few seasoning blend recipes to get you started. Make enough for yourself, or double/triple the quantity and make to give. A coffee grinder dedicated to spices is great for creating fine blends from woody herbs and spices. Just use one dedicated to spices. If you don’t have that, a pestle and mortar will work, as will pulsing with a food processor (just might require a combination of both to get it fine). Whether you use these to make a primary flavour or to sprinkle over the top, your dishes will never be the same. Plus, many spices and herbs have other properties that boost nutrition, digestion, and are anti-inflammatory. All a plus. Garam Masala Garam Masala is a blend of spices often found in Indian and South Asian cuisines. Each region has their own blend, but the basics are fairly similar. This is a flavorful blend made with spices that can be found in most grocers or spice shops. Everything is listed by tablespoon and teaspoon because it doesn’t have to be exact. Use this as a guide. Garam masala is so good in rice dishes; added to soups and stews, and sprinkled over anything you roast in the oven. 3 Tbsp coriander seeds 1 ½ Tbsp cumin seeds 1 Tbsp sweet cinnamon chips (or a soft woody cinnamon stick) 2 tsp cloves 3 bay leaves 1 tsp cardamom pods (green) ½ tsp peppercorn (I like a variety of peppercorn types) 1 tsp dried ginger ½ of a nutmeg Optional: 1-2 juniper berries Toast all of the spices together on a medium-high skillet, gently, stirring. Be sure not to burn but just toast to release the aroma. Once the spices are warm and toasted, pour them into your spice blender and whiz until you have a powder. Store in an airtight container. Lemon Pepper This lemon pepper is more than just the generic salt from the store. This is a blend of salt, pepper, rosemary, lemon zest and peppercorns. It is very aromatic and is fantastic over meats before grilling or in a salad dressing. Zest of 3-4 lemons (if tiny, use 4) 1/3 cup/80 mL of various peppercorns 5 large sprigs of fresh rosemary ½ cup/120 mL of celtic sea salt Zest your lemons. Whiz your pepper, rosemary, and lemon zest in a food processor to crack the peppercorns and blend. Spread onto a parchment lined sheet and place into a 225ºF/100C (Gas Mark ¼) oven for 20-30 minutes until dry. Once the lemon zest and rosemary are fully dry, pour into a food processor or spice grinder and blend more finely before stirring into your ½ cup of sea salt. Store in an airtight container. Dukka/Duqqa Dukka is an Egyptian mix of herbs, nuts, and spices. This version is nut free so it is safe for nut-free homes. This uses pumpkin, sesame, and sunflower seeds instead of the nuts, giving the dukka a rich, deep, flavor. It is delicious as a crust for meats, as a dip with bread and olive oil, or simply sprinkled over vegetables, salads, or soups. 1 tsp sunflower seeds ¼ cup/60 mL white toasted sesame seeds ½ cup/120mL pumpkin seeds 2 Tbsp coriander seeds 1 Tbsp cumin seeds 1 tsp black peppercorns 1 tsp smoked paprika 1 bay leaf In a dry skillet on medium-high, toast your coriander, peppercorns, pumpkin seeds, sunflower seeds, sesame, cumin seeds, and bay. Stir often, so they don’t burn. You are toasting to warm to release the aroma and oils. Pulse all of your toasted ingredients in a food processor or spice grinder with the smoked paprika. Pulse until you have the consistency you prefer. Coarse is great for dishes, more fine is wonderful for bread and olive oil appetizers. Store in an airtight container. Making your own spice blends and pantry staples can be very easy and the reward is so much more flavorful than you can find in most grocery stores.
0 Comments
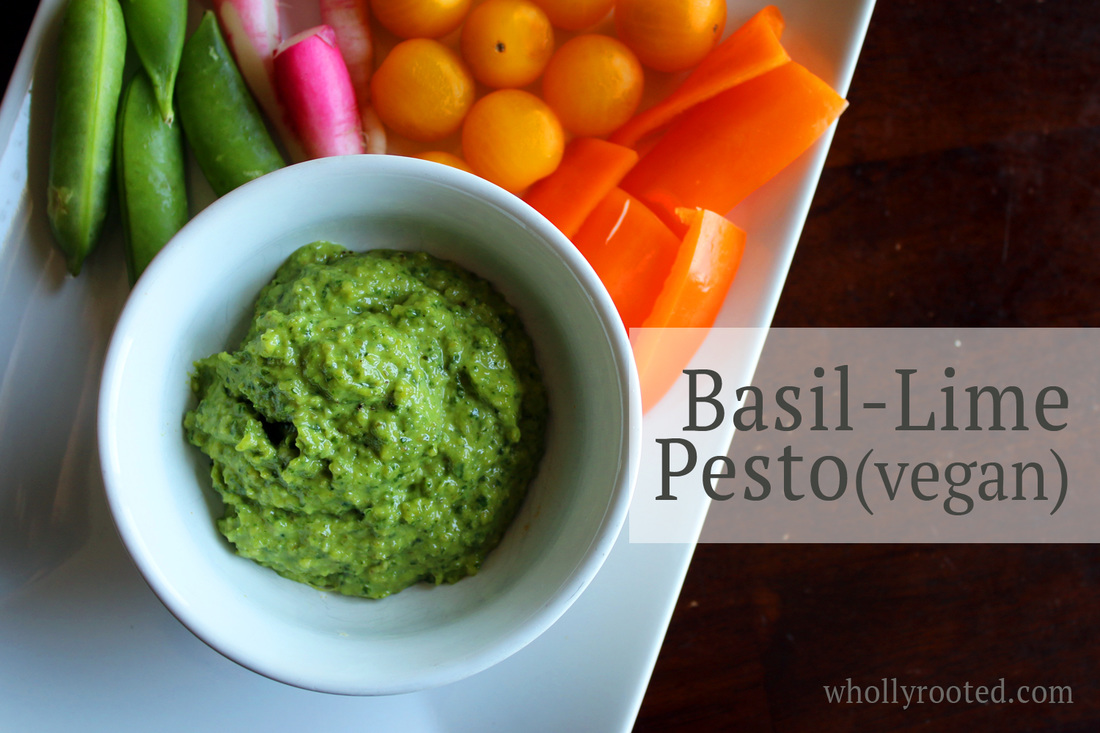
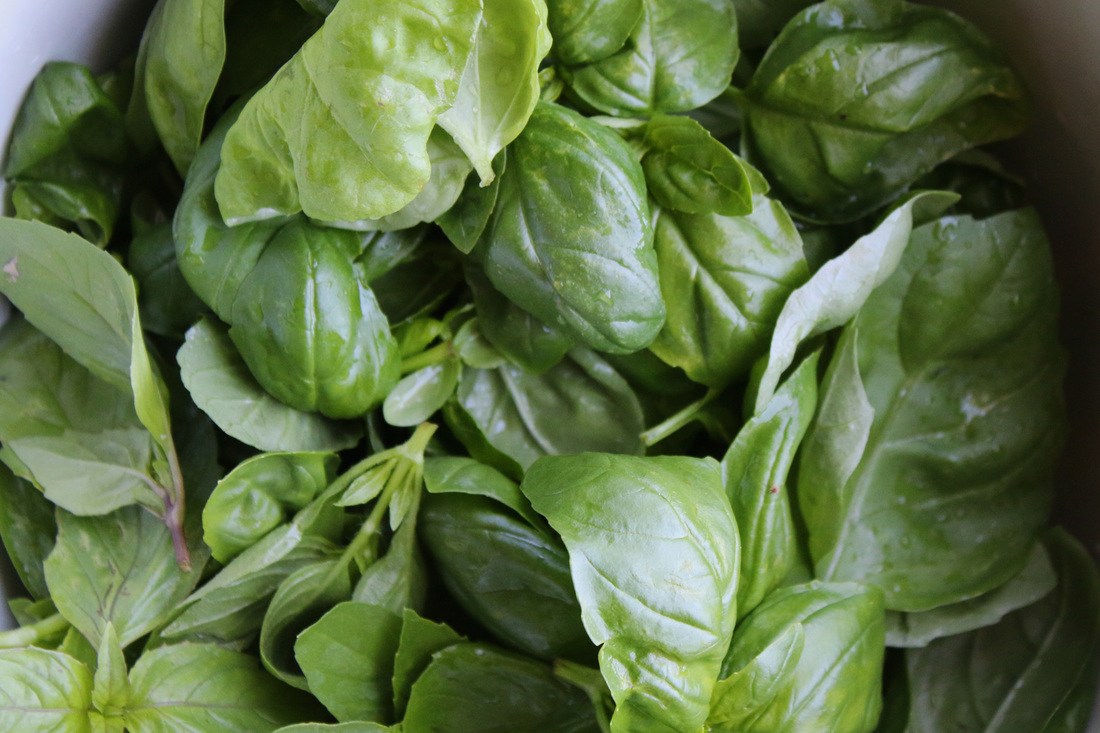
I love the beginning of CSA season. Spring arrives late in Wisconsin and it takes until June for the vegetables to really start rolling in, and it coincides with my burst of rapidly growing herbs which I planted a few weeks ago. Pesto is a favorite way to combine different flavors and use the herbs in abundance with all of the fresh vegetables. The key for me of course is the combining of different flavors. I like pesto, but we have a dairy allergy in the house AND I don't like drowning myself in mono-flavors. I love making different types of pesto so that there is fantastic variety not only for immediate consumption, but also enough to freeze/preserve for winter. This pesto is a favorite. I grow many types of basil, and no matter what type I have on hand, it works. This recipe is dairy free and combines fresh zesty flavors such as lime, ginger and garlic. I am also using cashews instead of pine nuts. Not only are they easier to find, but they are nutritious and I always have some on hand (I'm addicted to date/cashew truffles and cashew cream). You will be amazed at the flavor and want to make extra to freeze for winter! 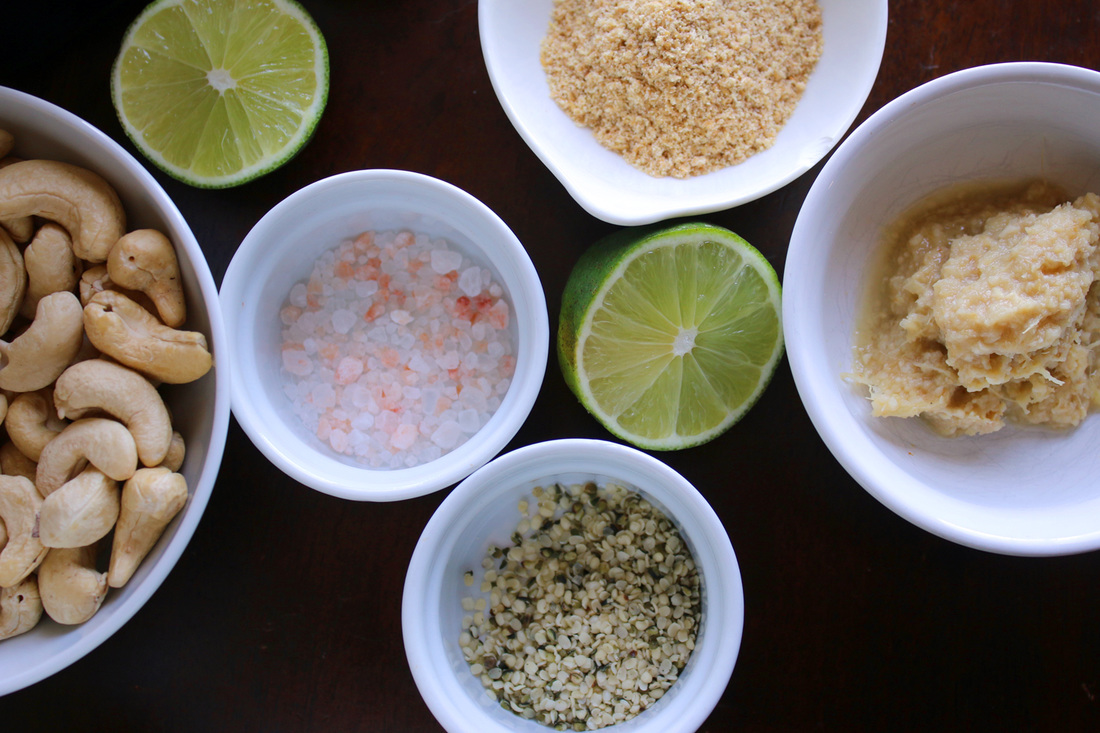
Basil-Lime PestoPrint |
{wholly rooted}There is nothing better than the taste of freshly homemade pesto with crudités, on grilled veggies, or over pasta. This version is vegan, and combines the amazing flavors of basil, lime, garlic, and ginger. The ground flax and hemp seeds make a great texture subsitute for the cheese -it is so good! GF/DF {ingredients}
First, using a food processor, pulse your raw cashews with the flax meal and hemp seeds until finely ground. 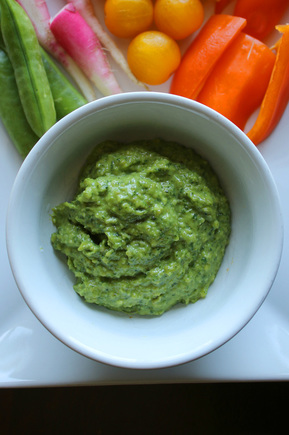
I made a single batch of this today, which will likely only last me a few days. So I am sure I will make some more as my genovese, persian, blue spice, thai, lemon, lime, lettuce leaf, and emily basils grow, grow, grow! bonus: This recipe is delicious and easy to prepare, but also packed full of good vitamins, minerals, healthy fats, fiber, and protein. Yum+. Cashews Garlic & Ginger Basil Lime 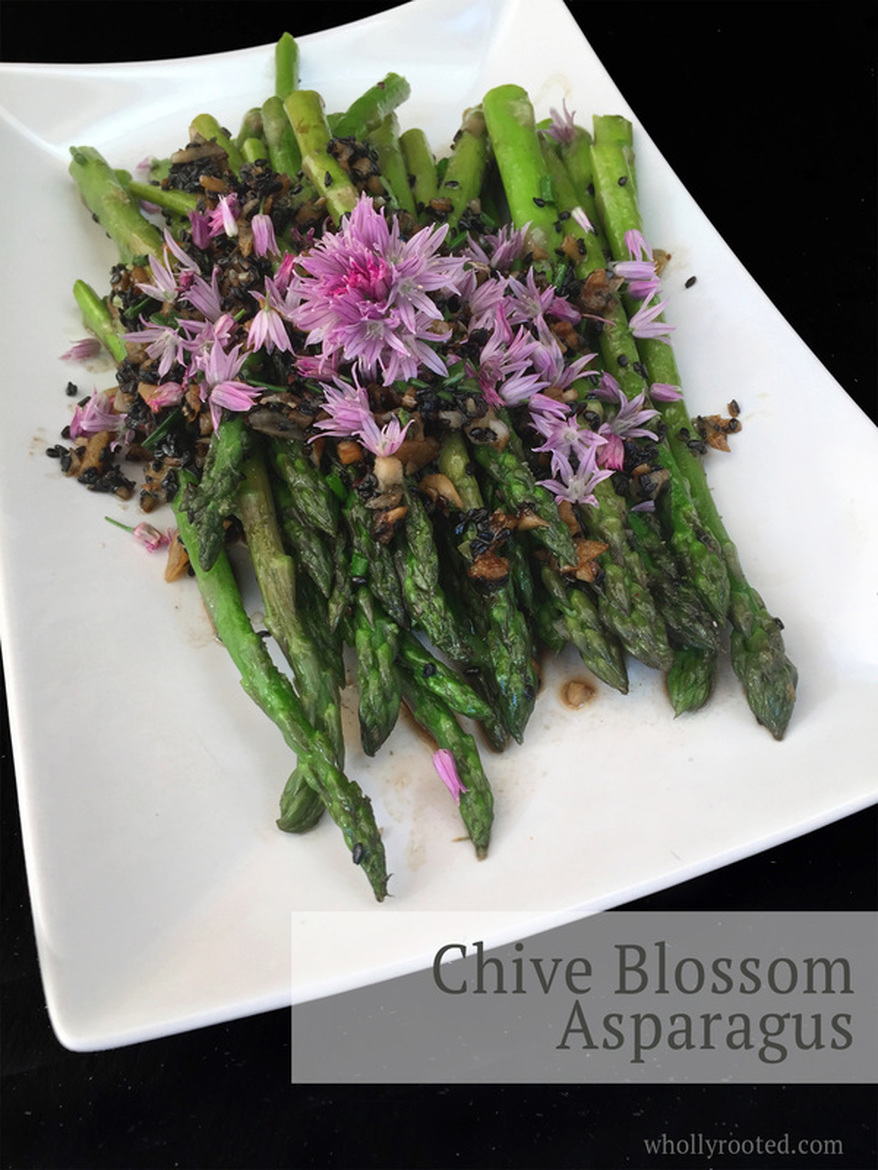
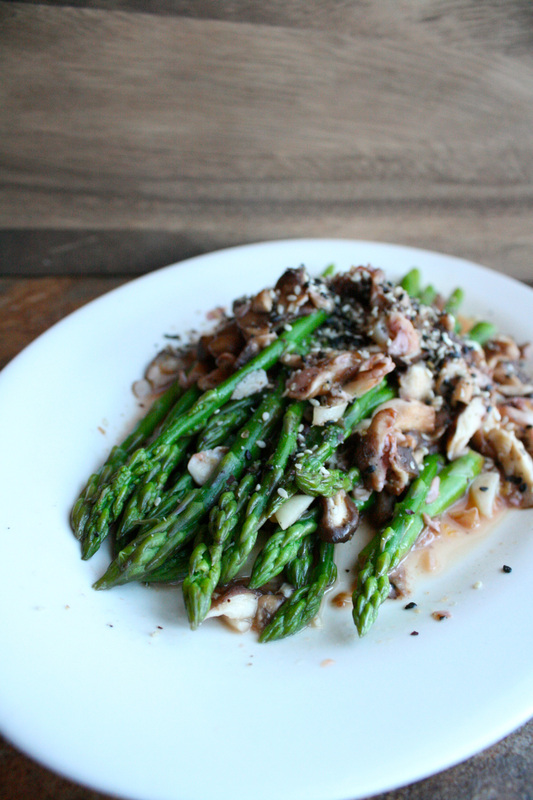
We have long winters here in Wisconsin, so when things start to grow, it is exciting. We also don't have long seasons of items once they do appear. Asparagus, rhubarb, strawberries - all are in and out quickly, so we tend to do as much as we can while they are here. I love asparagus. My husband didn't used to like it so much, but it has grown on him as I experiment and find more flavors it blends with. Asparagus and chives are amazing together. And the smoky richness of sesame oil, the salty flavor of soy, and the crunchy bite of black sesame all meld together to make an awesome asparagus dish. I usually make this as a side dish, but it is also fantastic over a bed of lettuce (or arugula!) with a little soy/sesame oil dressing drizzled over the top.
Chive Blossom AsparagusPrint |
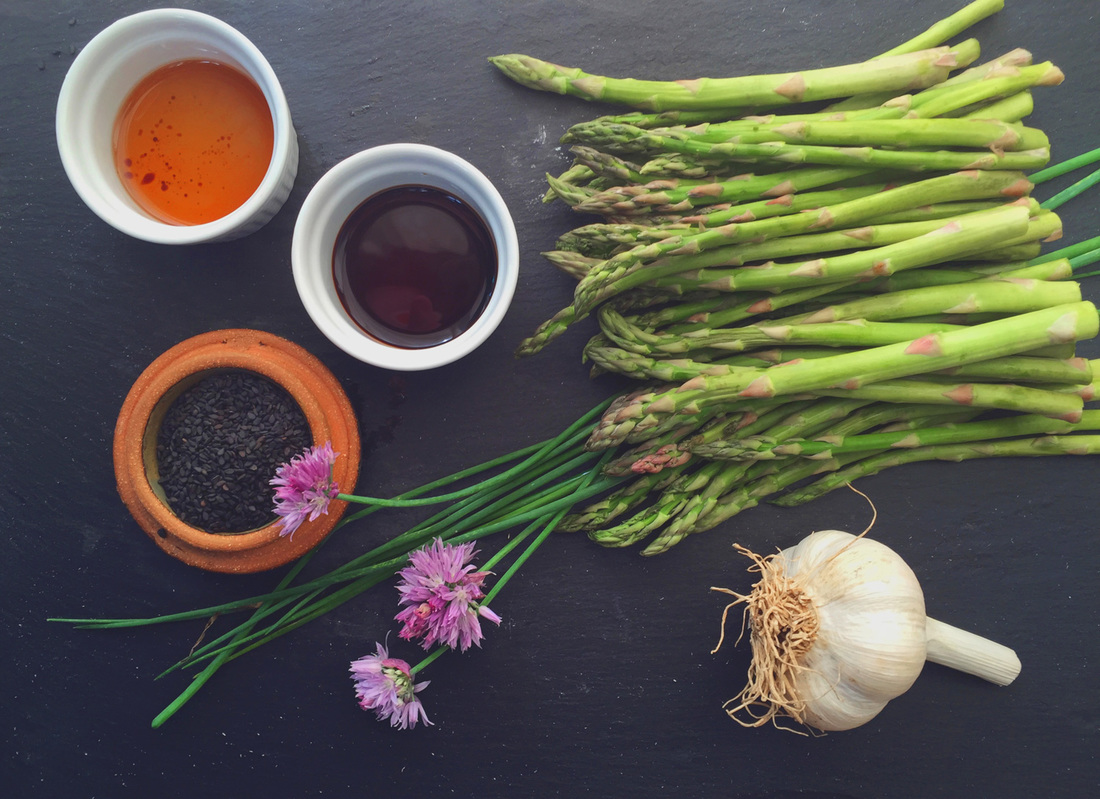
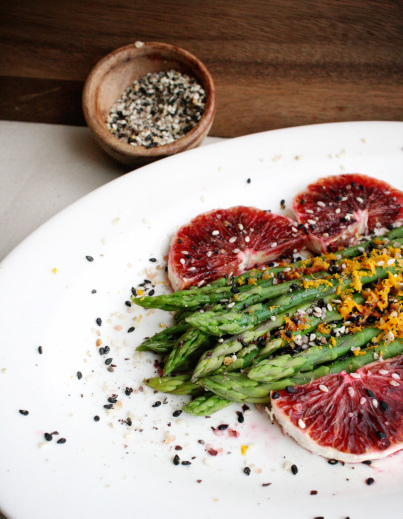
{wholly rooted}Bright green spears of asparagus are among the earliest of garden harvests. The thin, delicate spears work well with many different flavours, and are delicious steamed, grilled, as soup, pickled, and as a side dish. This recipe combines early season asparagus alongside another spring visitor – chive blossoms. {ingredients}
Blanch your asparagus for about 2 minutes in boiling water.
This recipe is quick and easy, but has a lot of flavor. A great way to combine the ingredients of spring into one fantastic dish. Chive Blossom Infused Vinegar Chives are a mid to late spring herb that are often overlooked. Chives are delicious in salads, egg dishes, sprinkled over soups, and more. Don’t forget the blossoms either. The delicate pinkish purple flower heads have a lovely onion/garlic flavor. Chive vinegar is a quick, simple way to capture some of that. 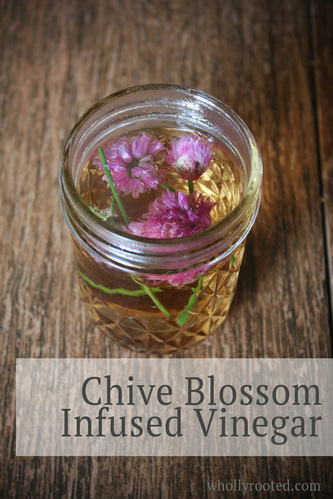
Directions:
Pack a ½ pint jar with (clean) chive blossoms, along with a few chive stems. Pour over any type of mild white vinegar you like – you can pour over room temperature vinegar, but warm the vinegar first for best results. Make sure all blossoms are fully covered. Let sit for a few days in your fridge until the blossoms have turned the vinegar a lovely shade of pink. Strain out the old chive flowers (add a few fresh ones for decoration if you wish), store in the fridge, and use in salad dressings!
Spring may seem slow to start some years, but when the first greens, herbs and veggies appear we can't get enough. Here is to spring, and fresh food from the garden!
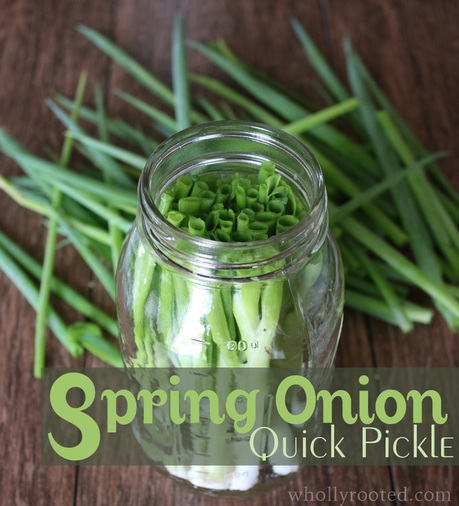
I like quick pickles. I don't have a ton of time to make dozens of jars of the same thing endlessly, and quite honestly I get bored with flavors and really like mixing it up, using what is fresh on hand, and having small batches of a variety of quick pickles to liven up meals, crudités, salads, and of course for snacks. At any given moment year-round I have a few jars of something in my fridge. Right now I have pickled cucumbers and garlic in a slightly sweet brine, and pickled daikon which are amazingly peppery and crunchy. Spring onions are one of the first things in spring that we can find here in Wisconsin, and I like pickling them so that I can spread them out throughout the summer. I like the small green brilliance of their flavor in a pickle and they work on salads, burgers, or with a plate of hummus and tomatoes. 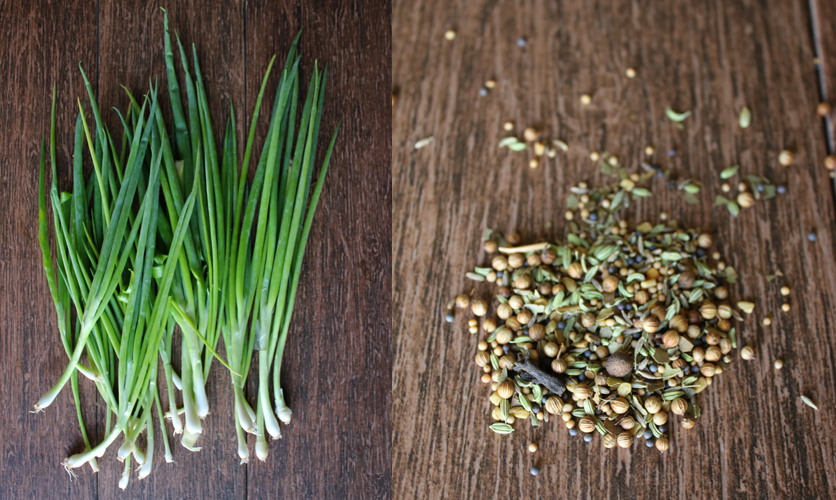
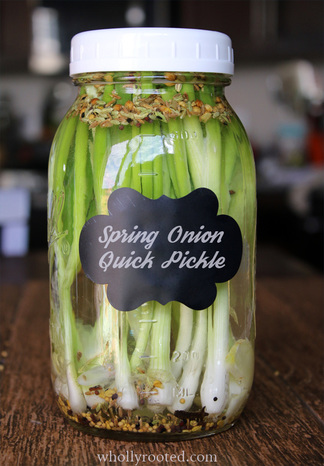
Spring Onion Quick PicklePrint |
{wholly rooted}Quick pickles are a delicious way to use the bounty of the season to create a variety of flavours and textures. This recipe uses one of the gardens earliest arrivals – spring onions, or scallions. {ingredients}
Heat water/vinegar/sugar/salt/garlic in a pot until dissolved. Let cool to room temp.
Or try this: Add some additional zesty flavor by reducing the white vinegar in the recipe above to 1 cup and add 1/2 cup umeboshi plum vinegar.
Another bonus of having a fresh pickling brine is when all of your salad greens start coming in full blast you not only have some pickled scallions to put on your salad, but you have a tasty brine to use for salad dressings. Simply mix a little pickle brine with extra virgin olive oil, s&p, and a tiny bit of grainy mustard. Stir and boom. Delicious dressing.
I know most of us have the image of a farm woman in her hot kitchen with 422 pounds of one kind of cucumber frantically pickling and canning until 3AM. But these days we can get such a wide variety of seeds and can easily grow such a diversity of herbs, fruit, and vegetables, that we don't need to mono-pickle. Small batch pickling is a quick, easy, and delicious way to preserve the extras, the favorites, and the flavors of the season! Spring comes so slowly after a long winter, but jumping back into the garden and kitchen to start preserving again feels good. After a long winter it feels pretty much like a big TA-DAAAAA! 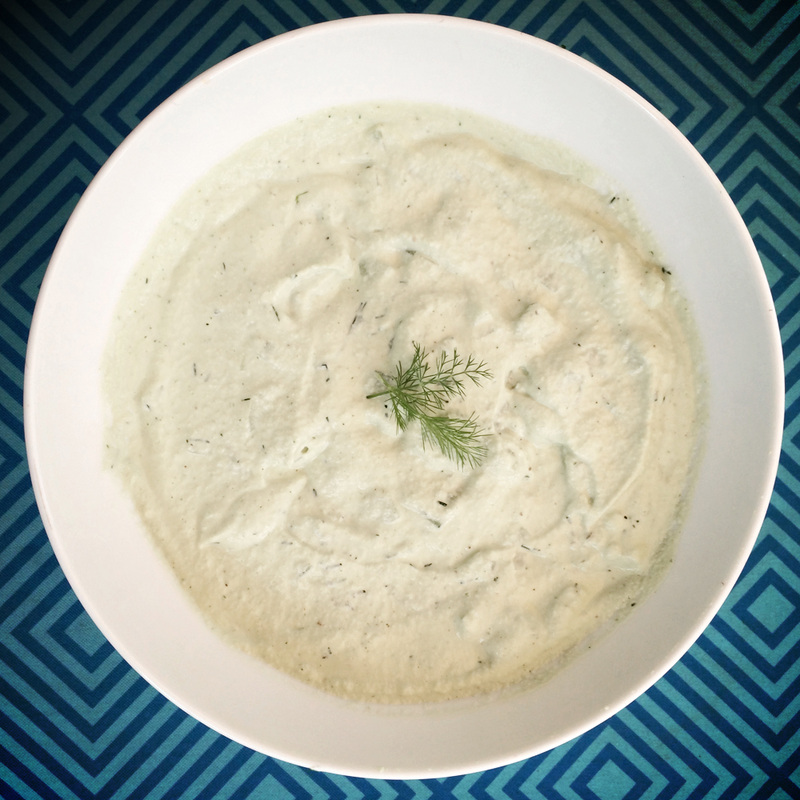
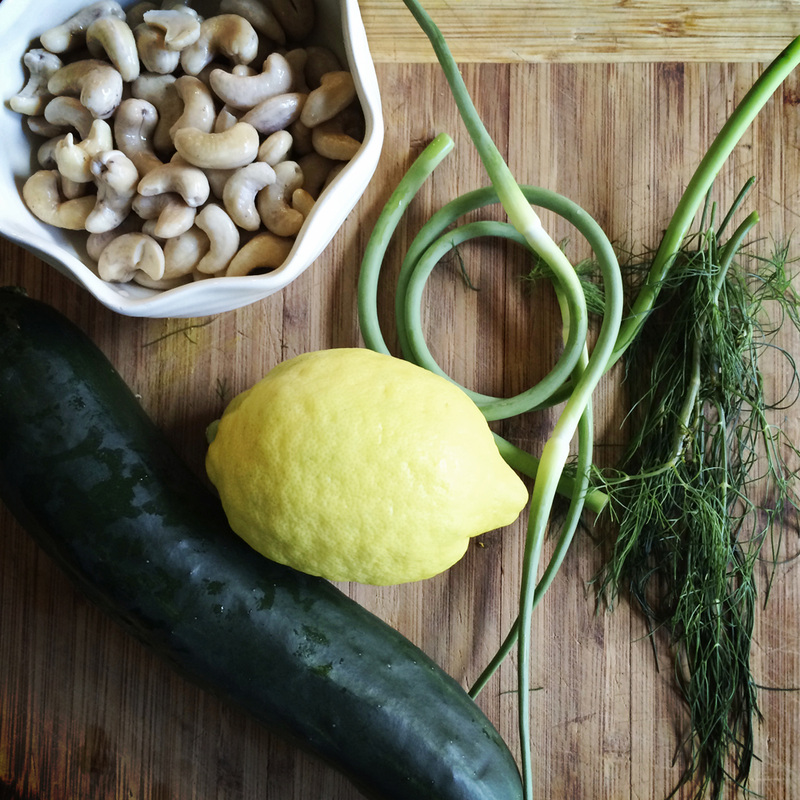
My entire childhood I was dairy-free. Not in the era of coconut yogurt and almond milk and vegan butter. But in the era of everything tastes like cardboard might as well skip it. I remember having horchata in Chicago once which changed my idea of milk-like drinks forever. I had a few years where I could almost tolerate certain types of dairy (if I didn't mind feeling crappy the next few days) and then I was vegan for many years. With my 11 year old it is a severe life-threatening allergy, so we are now very strict about the dairy. We try to keep it out of the house completely, as he reacts severely to even small amounts of contact. Since I didn't grow up on dairy and avoided it for decades, I don't really "miss" anything - but there are some foods I remember fondly and have re-created over the years. Tzatziki is one of those things. It reminds me of my years living in the Andersonville area in Chicago (a neighborhood full of amazing swedish, greek, and middle eastern restaurants ). This recipe is perfect in summer -and is my favorite dairy free tzatziki. It has the texture, taste, and smell. It is delicious with crisp vegetables. Drop a dollop in chilled cucumber soup. It even makes a great salad dressing. The base is cashews, which gives it a rich flavor and a protein boost.
Dairy-Free TzatzikiPrint |
{wholly rooted}This tzatziki has the creamy tang of a traditional recipe, but is dairy free! Serve with lamb or chicken, as a dip for fresh veggies, with pita chips, or as a dollop over chilled summer soups. Delicious. {ingredients}
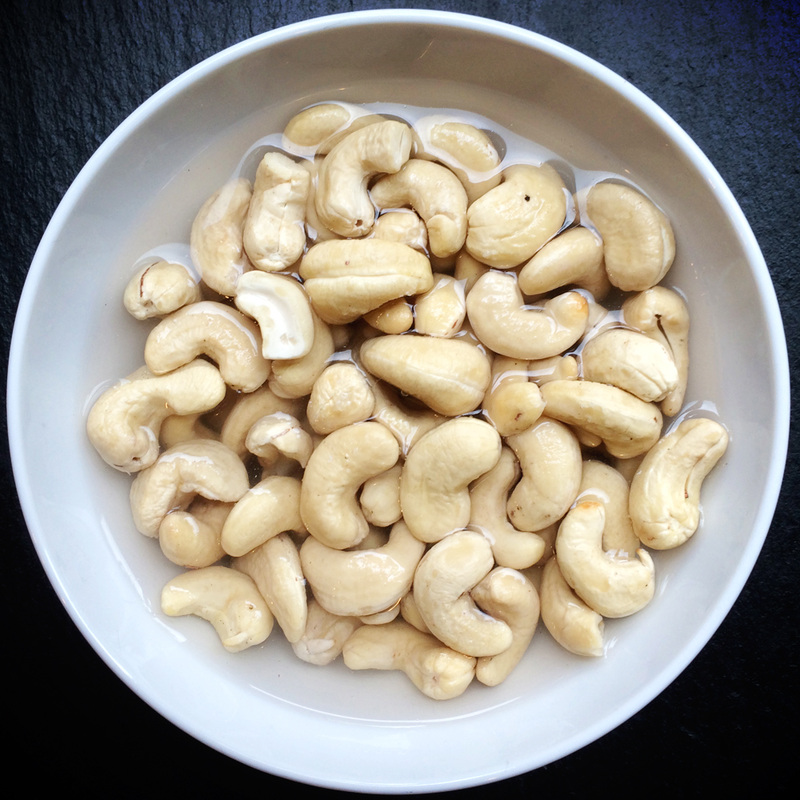
To soak the cashews: Put 1 cups of raw cashews in a canning jar or bowl, cover with hot water from your kettle (meaning hotter than tap but not boiling), let soak 1-4 hours. Drain. 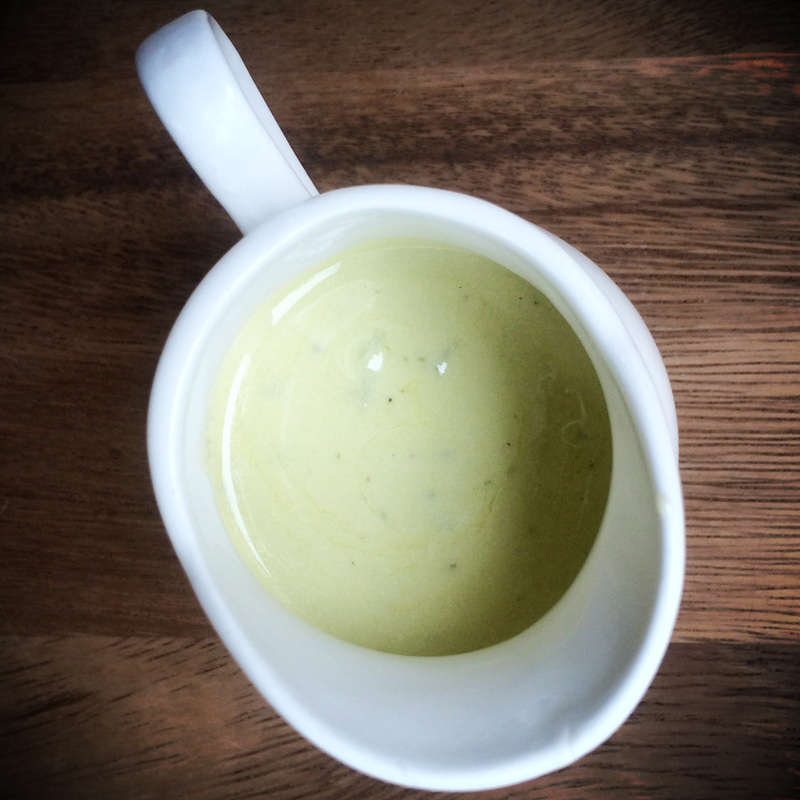
To make a dressing, take a few tablespoons of the tzatziki, add equal amount olive oil, and a teaspoon or two of good vinegar. Add a pinch of salt and pepper, and then mix well. It is creamy and delicious! 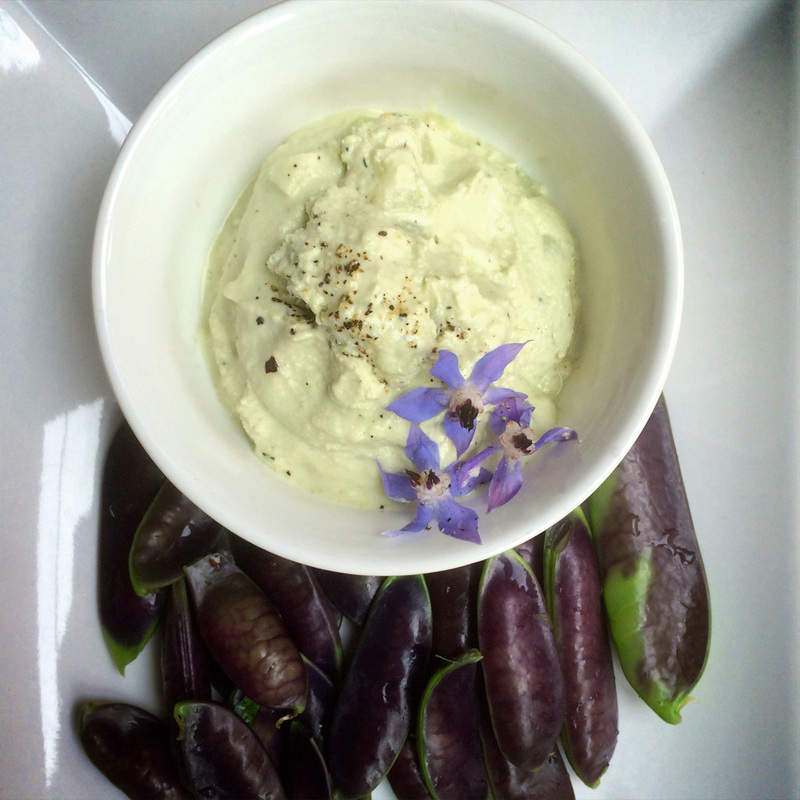
While I like pickles, I like finding other ways to use our abundance of cucumbers throughout the summer. I like to keep a chilled bowl of this in the fridge in season so it is always ready for a snack, with a meal, or over a salad! 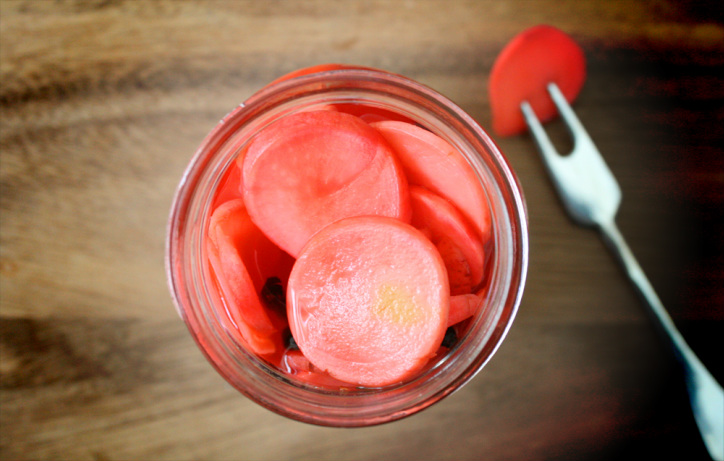 I love quick refrigerator pickles. It is a great way to make a little bit of something. It doesn't take much time or effort and you get pretty immediate results. I can pop out a few pints in between kids and garden and sunshine. And you never cook the vegetables/fruit in a water bath or pressure canner, so you always end up with such fresh and crisp flavors. I like having small batches too. So I can make new batches with the season, and not get tired of any one thing. These quick radish pickles are great on their own (I should know, I ate them non-stop as I took the photos. Ahem.), on top of a salad, as a side for just about anything, or with a cheese and meat board. SO delicious. And they are not too weird or strong for kids either. The bright pink color helps. 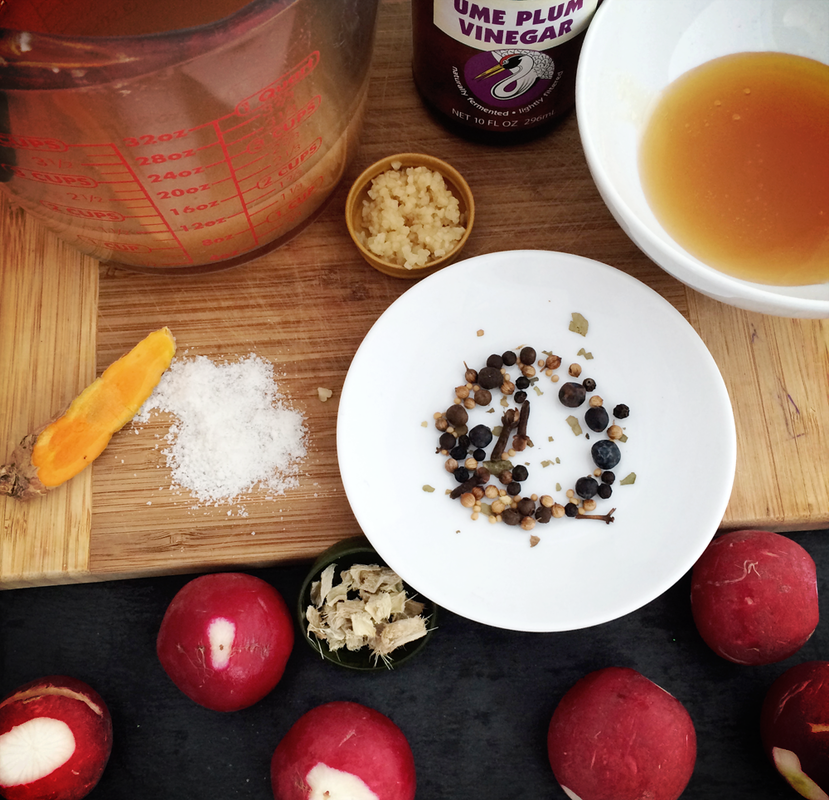 Pink Pickled Radishes (Umeboshi)Print | {wholly rooted}The perfectly pink ume plum quick pickle. The perfect combination of sweet, tangy, and crispy. Great on their own, or over a salad, on a cheese & meat board, or replacing anything that would be perfect with a pickle. {ingredients}
Slice radishes into thin rounds. Place in a colander and toss with a teaspoon or so of sea salt. Let it sit and exude liquid while you do the rest of the prep. 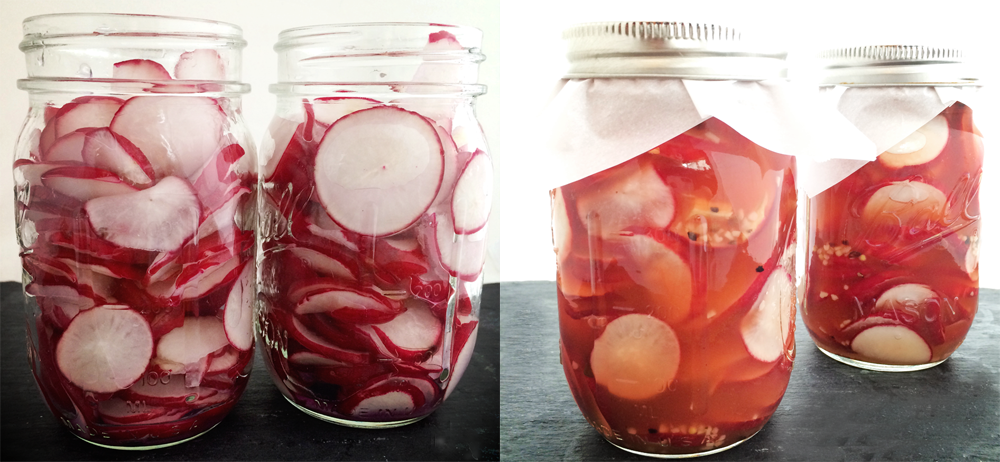 This recipe calls for ume plum vinegar. It comes from umeboshi plums. You can use all apple cider vinegar, but the ume plum vinegar adds such a great flavor and color. This vinegar adds a bit of depth so this pickle is sweet and sour and twangy and mild all at the same time. It is a good match for the peppery bite of radishes. If you don't have pickling spice you can crush 7 or 8 peppercorns and use that. I always keep pickling spice around (and it is easy to make your own!). I like one that blends clove, bay, allspice, peppercorns, juniper, coriander, mustard, dried chili, and other aromatic herbs. I make a lot of quick pickles and find that I am using it all throughout the season! 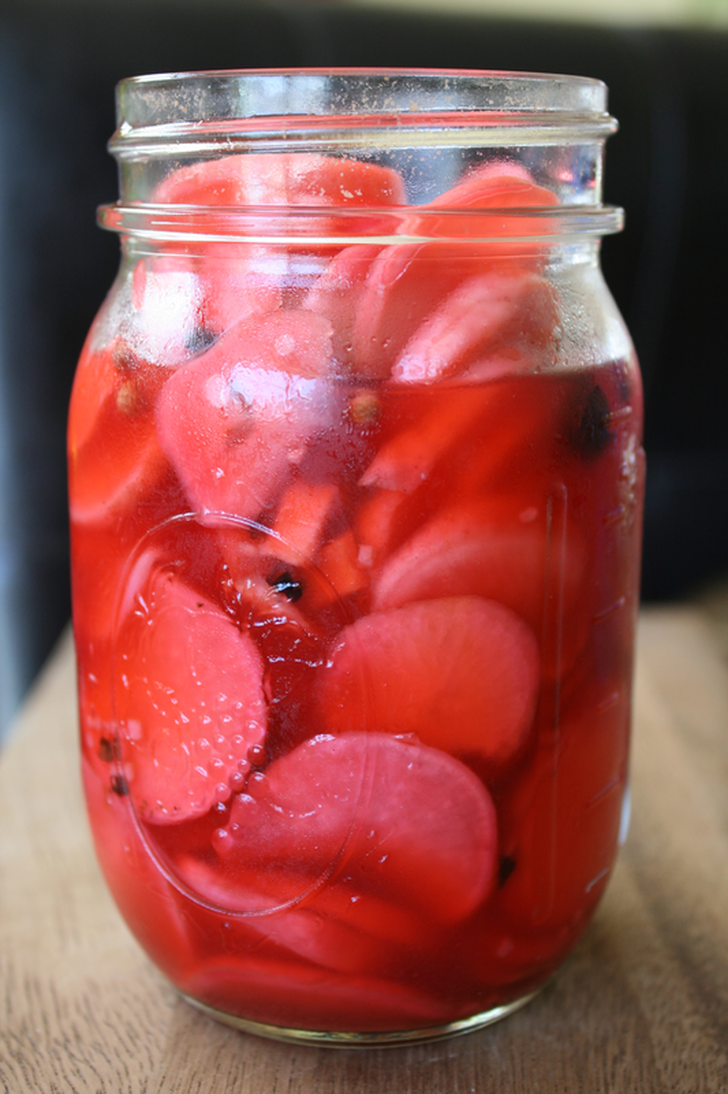 I am ridiculously excited to get into the season of dirt on my hands, planting, and harvesting from my garden. What we eat from May to November is directly related to what is fresh in our garden, and when CSA season begins, what is in our weekly share. Spring radishes always signal the beginning of gardening season to me. It is ON! 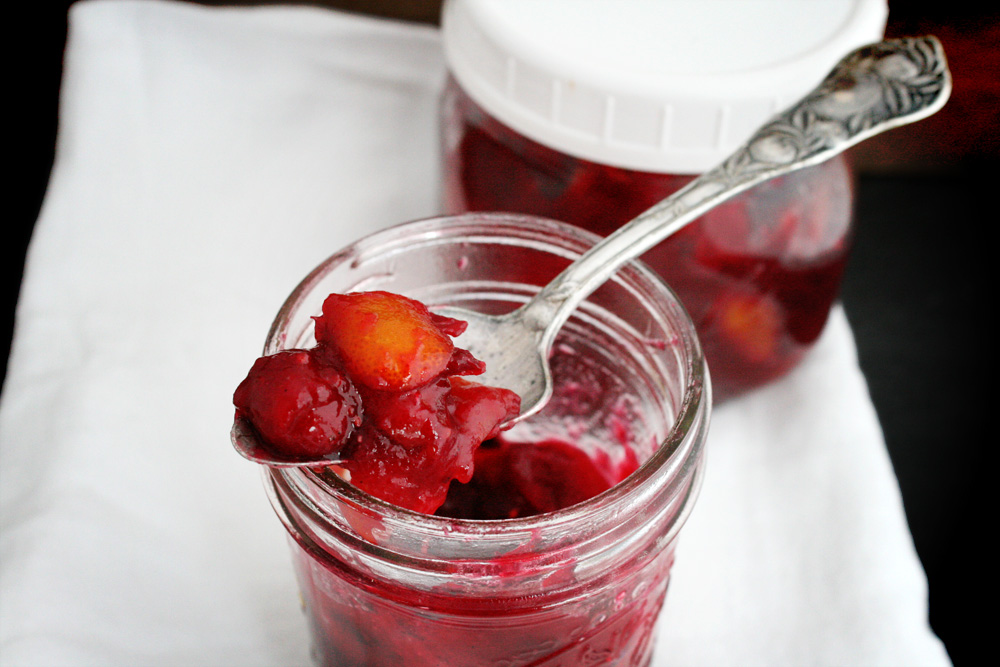 I love small batch fridge preserving. While there are many things I preserve a lot of in season, I prefer to preserve ingredients so that I can make a wide variety of flavors whenever I want. I am not a big sweet person, but I love bold unique flavors. I often make just a few pints at a time of marmalade, compote, aigre-doux, and mostarda. I like the twangy flavors to balance out the sweetness of yogurt (I love it with coconut milk yogurt) or to add flavor to things like snacks of cured meats and flax crackers. This kumquat cranberry compote is so good. It has the burst of cranberry tartness, the rich zest of citrus, with the deeper intensity of kumquat. I freeze Wisconsin cranberries in season to be used all winter if I can - but had one last bag that I had managed to keep fresh in my fridge. It goes perfectly with this short burst of kumquat season. 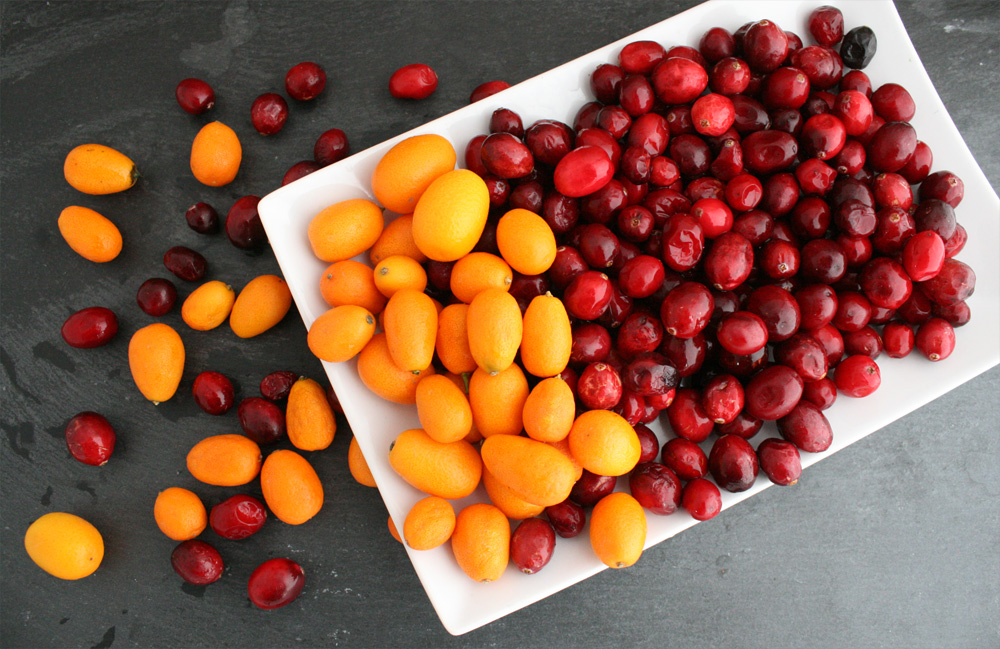 Kumquats are quirky little citrus similar in color and skin to tiny oranges, but with more of a sour pucker to them, and the fruit as well as pith and skin are edible. Kumquat are packed with anti-oxidants, vitamin C, calcium, iron, selenium, zinc, fiber, and B vitamins. And of course cranberries are full of fiber, vitamin C, antioxidants, and more as well. Having a burst of intense twangy goodness when March is long and gray is a good thing. 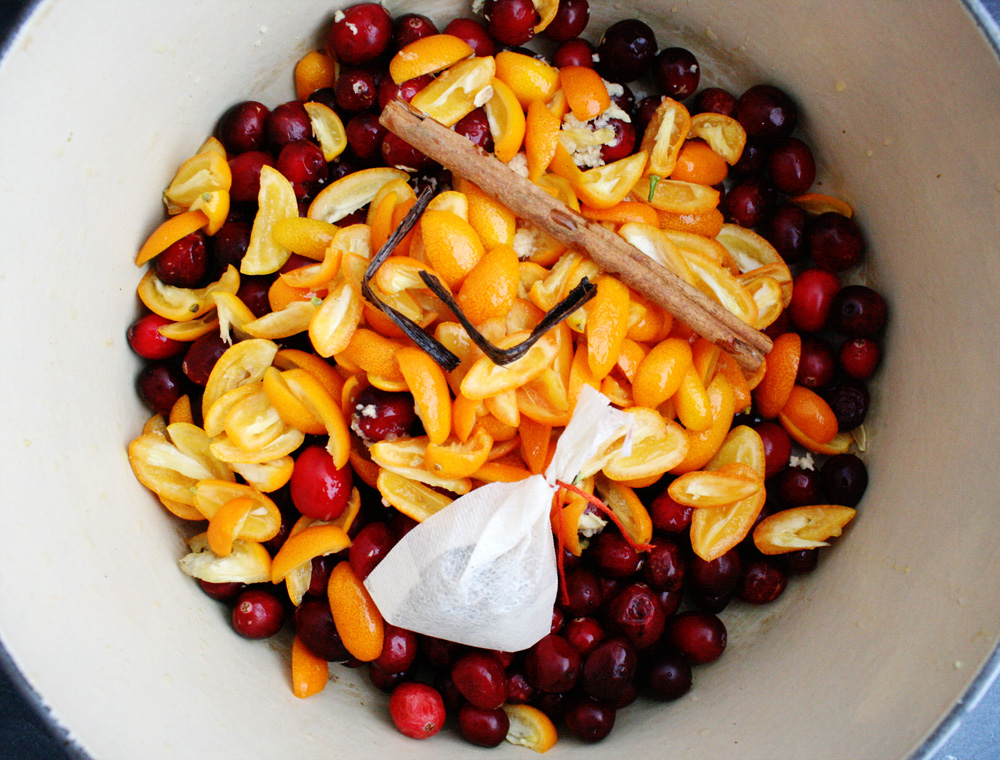 Kumquat Cranberry Compote This is a delicious twangy compote sweetened with honey. {ingredients}
Put your kumquat slices and cranberries into a big pot. Add the cinnamon stick, grated ginger, and vanilla bean to the pot. Crush the cloves, allspice, and cardamom with a mortar and pestle a bit (or put into a baggie and crack a few times with a rolling pin). Add the crushed spices to a tea bag or piece of cheesecloth. Tie it up and add to the pot. Add in your orange juice or whiskey. Start with 1/3 of a cup. Depending on how juicy your kumquats are, if your cranberries are fresh or frozen, or if you use OJ or whiskey, your liquid needs might slightly vary. Start with the smaller amount, add more as you are cooking if it is looking too dry. It should be just enough liquid to soften and integrate the ingredients into a thick but stirrable whole. With everything in the pot, bring to a boil and stir stir stir. Once boiling, reduce heat to medium and simmer for 15-20 minutes, stirring frequently, adding more liquid if necessary. If using whiskey the alcohol is cooking off, but leaving an amazing aroma and flavor. After 15-20 minutes on medium, stirring often, remove your cinnamon stick, vanilla bean, and spice bag. Add the honey, stir, and turn down to LOW for another 10-15 minutes. Turn off the heat, stir, and then let sit for a final 10 minutes or so to cool. It should be nice and thick and garnet. Spoon into clean jars, and refrigerate. This should keep in your refrigerator for a few weeks if you can keep yourself from eating all of it immediately. NOTE: If you use a very sweet orange juice as your liquid, you might not need as much honey. Taste it as you go! Make a zingy fresh dressing - mix a Tablespoon of the compote with a teaspoon of coconut vinegar and 2 teaspoons of extra virgin olive oil. Whisk until blended and drizzle over your salad or steamed veggies. It is fantastic over yogurt, on a cheese and meat plate, as a condiment with roasted chicken, in your morning hot cereal, or as a dressing for salads and vegetables. 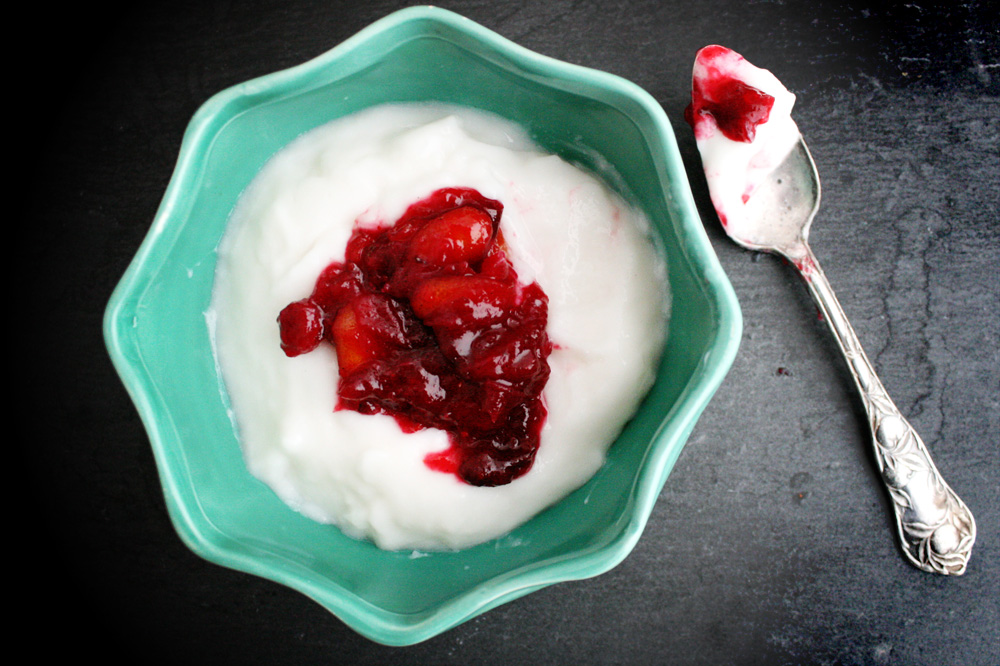 I love the color and flavor. It has a punch of twangy cranberry, the freshest citrus zest, and enough sweetness to balance the tart without being overly sweet. It is so good!
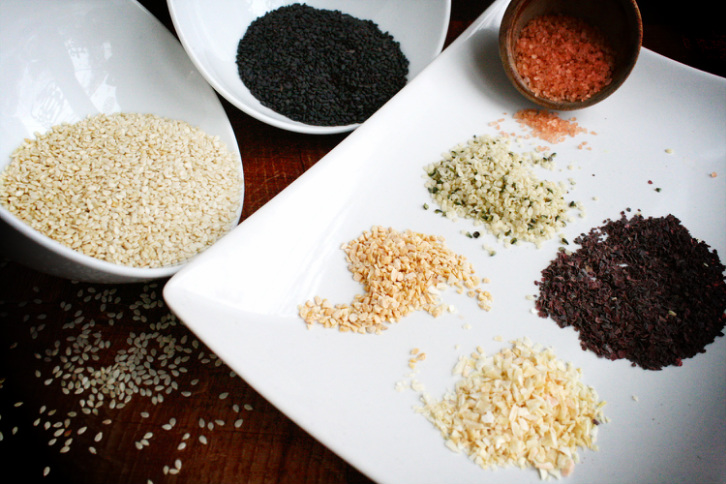 Gomasio is one of my favorite condiments made from sesame seeds and salt, often with other herbs and seaweed. It adds such a rich flavor without much salt. And for a family that doesn't eat a lot of packaged foods and uses sea salt exclusively, this also gives us iodine which is naturally found in the seaweed without any fishy flavor. It is just ... good. Every gomasio seems to have a different recipe - the variations are endless - but this is my standard go-to base recipe that I make and re-make often. I like using dulse flakes in my gomasio. Dulse is a sea vegetable which has has iron, iodine, magnesium, zinc, selenium, calcium, potassium, and a long list of other minerals. It adds so much healthy goodness without any seaweed smell. {ingredients} 1/4 cup black sesame seeds 1/4 cup white sesame seeds 1 Tbsp dulse flakes 1 Tbsp hulled hemp seeds 1 tsp dried onion 1 tsp dried garlic 1 Tbsp dried holy basil/tulsi (optional) 1 Tbsp good salt (sea salt, himalayan pink salt, alaea hawaiian salt, fleur de sel, or a smoked flake salt ... just not refined white salt) Start by toasting your sesame seeds in a dry pan on med-high. This only takes a short time - you are not cooking the seeds, just heating them to release their oils and aroma and toast lightly. Stir stir stir and remove from the heat and pour into a bowl before they start getting too dark. 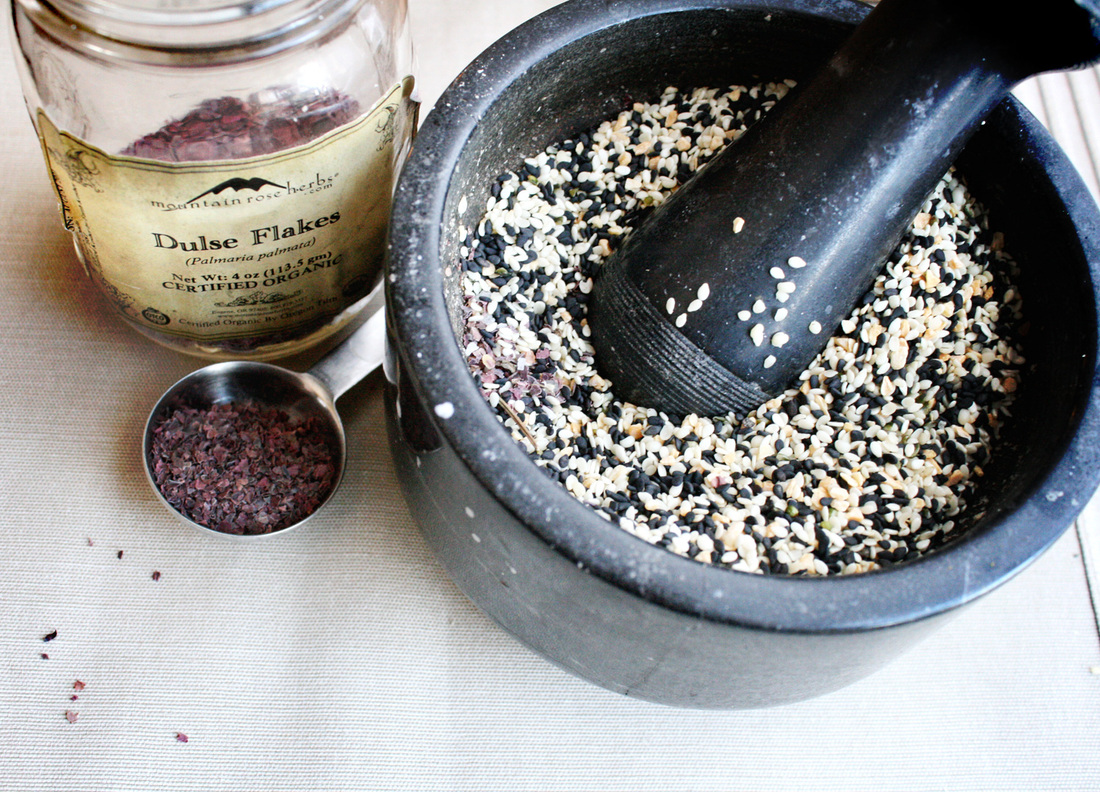 Combine all of your ingredients and gently grind together. I find a large mortar and pestle works best. You can pulse *just a few times* in your food processor, but do not over do!! You don't want to make sesame paste. You don't want a powder. You want just all of the ingredients integrated and infused with each other so they don't separate. I usually take 3-5 minutes with a mortar and pestle to gently grind it all together. Store in an air tight container - it fits perfectly in a 1/2 pint jelly jar, or put in a shaker. Sprinkle over eggs, steamed veggies, chicken, stew, soup (miso!), dips, salads, you name it. IT IS DELICIOUS!
While *more dulse* may sound like a great idea after reading about its benefits, don't. While iodine is something we all need and seaweed is common in a lot of Asian diets, it is in small amounts. Don't overdo it. This recipe has a low ratio for a reason!
|

denise cusackI am a certified aromatherapist, clinical herbalist, permaculture designer, organic gardener, plant conservationist, photographer, writer, designer, artist, nature lover, health justice activist, whole foods maker, and mother of two young adults in south central Wisconsin. 


Categories
All
©2007-23 Denise Cusack, all photos and text. Feel free to share my posts on FB or Twitter or online media or pin on Pinterest (thank you!), but please keep the links back to my website intact (meaning please do not take or copy my images off of this website and share them unattributed or without linking back here or use them without permission). Thank you! :)
|

 RSS Feed